1

How to Disable Windows Defender in Windows 11 | Turn off Windows Defender (Permanent)

In this article, I’ll be showing you how you can disable Windows Defender on your Windows 11.

Before we get started, just a disclaimer: This might be a little different compared to what you are used to before when you are disabling a Windows Defender or Windows Security on Windows 10 as Windows 11 has tighter security measures before you can actually disable it.

Now, let’s get started!

First, go ahead to the Start menu and type in the search bar “System Configuration” and open that app. We are going to be booting a safe mode boot option, so go the Boot tab. You will see the Boot options so make sure to check the Safe boot and set it as minimal. Hit the apply button and ok button.

After that, you just have to click “Exit without restart” just to confirm that the Windows Security is currently running on the computer. You may go back to the start menu and look for the Windows Security app.

As you will see, the Virus & threat protection will show that it is turned on. Hence, you will need to restart your computer so we can disable that Windows Security feature on our Windows 11.

After restarting your computer, you will now be put in the Safe mode on your Windows 11. So you can now go ahead and change some settings on the registry.

Windows 11 on Safe Mode

Disable Windows Defender Using Registry

Go to the Start menu, right-click on it and select the run option. Type there “regedit“, hit the ok button, and you’ll be shown the Registry Editor window. You’ll now go to the HKEY_LOCAL_MACHINE folder and proceed to the SYSTEM folder. Then, look for the CurrentControlSet folder and under that is the Services folder, where we will be disabling particular services.

Under the Services folder, we are going to scroll down until we find the “Sense“. Click on it and we are going to be changing the Start key, which you’ll find on the right side. Open the Start key and change the value to “4” under the hexadecimal base and hit the ok button. These particular steps will be repeated as we go on.

Back to the left side column, we are going to be looking for the “WdBoot” folder. Same as before, we are going to click the Start key, and change the value to “4” with hexadecimal as base, then click ok.

Next, on the left side column, find the “WdFilter“. Repeat the process of changing the value on the Start key as we did before.

After that, you will look for “WdNisDrv” and repeat the same process.

You’ll be following the same steps with the “WdNisSvc” folder.

Lastly, repeat again the process for the “WinDefend” folder.

Finally, we now have successfully disabled the Windows Defender on the Windows 11.

In case you want to re-enable your Windows Defender, here are the default registry key values you will need to re-input:

  • Sense – 3
  • WdBoot -0
  • WdFilter – 0
  • WdNisDrv – 3
  • WdNisSvc – 3
  • WinDefend – 2

Disable Safe Mode – Boot in Normal mode

You can now close the Registry Editor and now go back on the Start menu. Right-click on it, select the run button, and type in “misconfig” and hit ok. Go to the Boot tab and uncheck the Safe Boot under the Boot options. Hit the apply button and ok button. Then, restart your computer.

Now, we are now back in the normal mode on Windows 11.

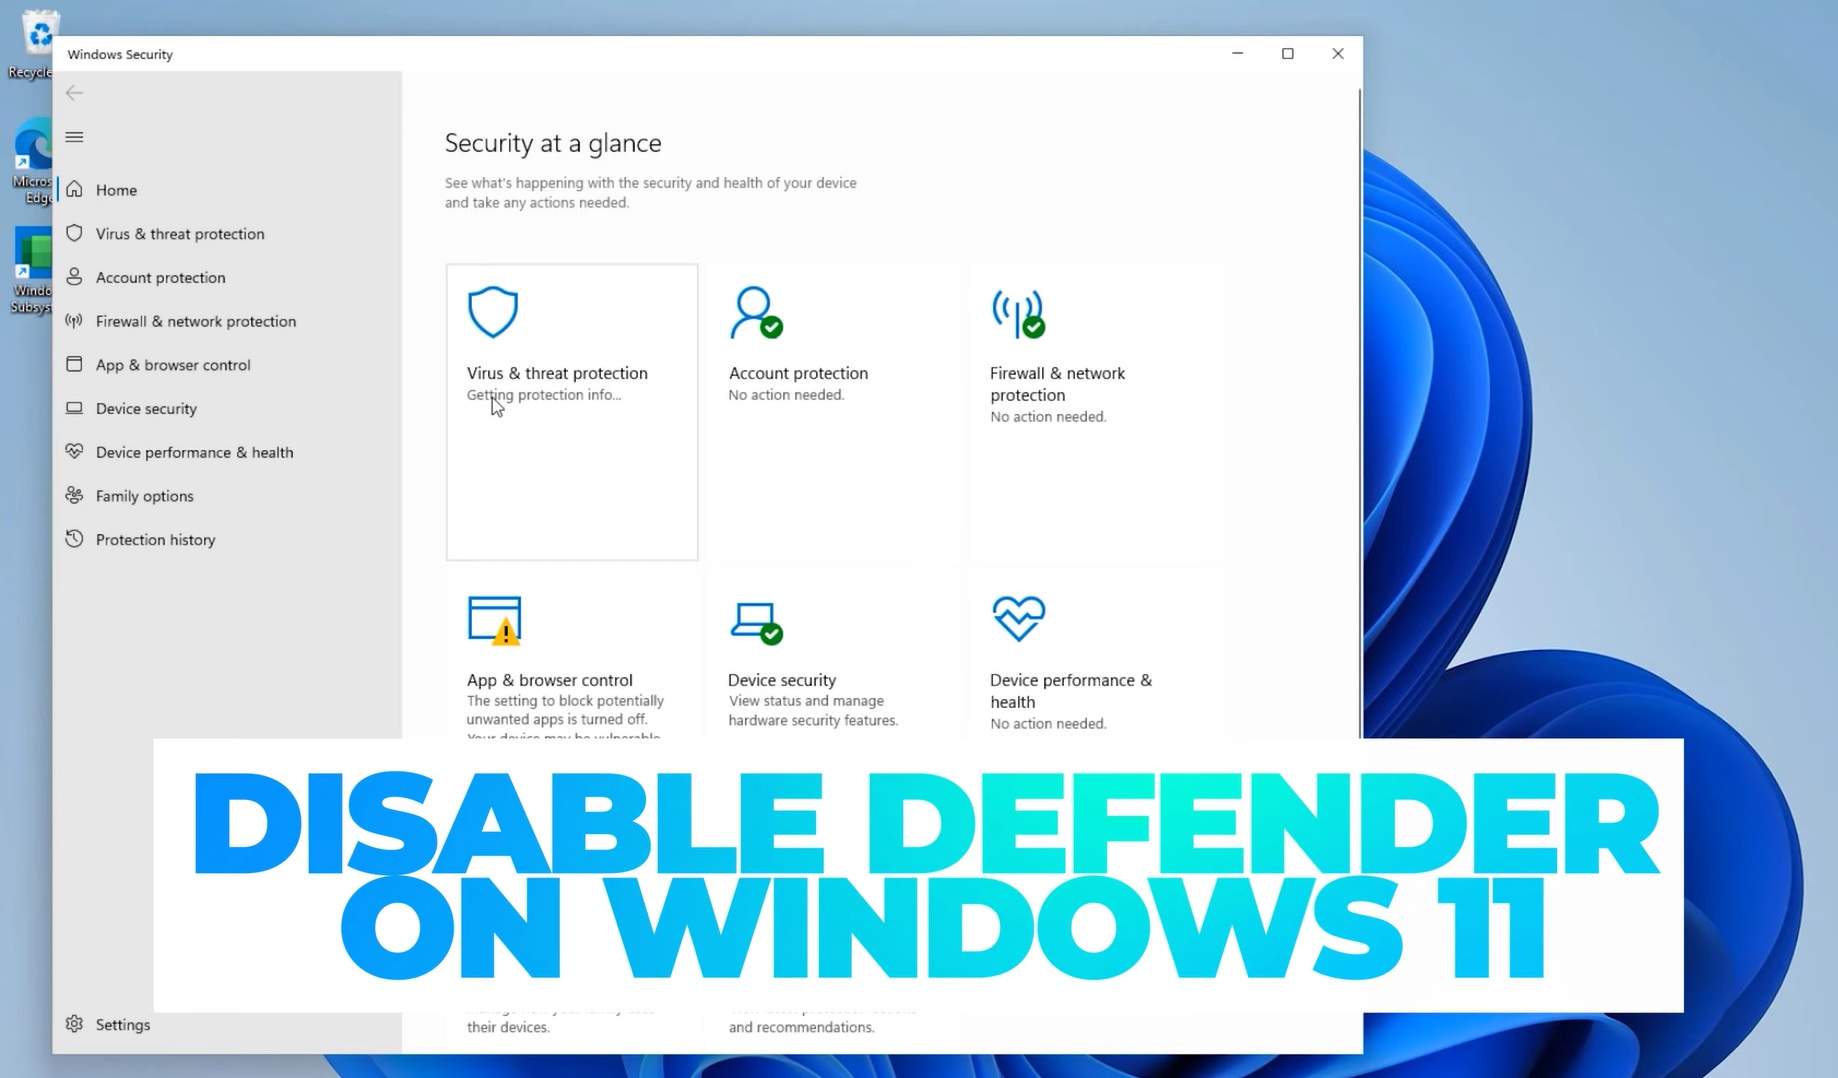
For us to check whether we have successfully disabled the Windows Security or Windows Defender on our Windows 11 OS, go back to the Start menu, search “Windows Security” and open that app.

You will notice that the Virus & threat protection, it will just be stuck on “Getting protection info…” and it will never load up the Windows Security service on your computer.

Disabled Windows Security in Windows 11

That’s basically it. Hopefully you were able to disable Windows Defender or Windows Security on Windows 11 through this article.

Comment down and let me know if everything worked for you.

Are you currently using Windows 10? We also have a guide in disabling Windows defender on Windows 10! Just click here.

If you had a hard time following the instructions, try watching this video tutorial right below:

Video Tutorial! (Turn off Windows Defender – Permanent)


How to install Google Play Store on Windows 11 (Easy) | Run Android apps on Windows 11

I’ll be sharing with you the easiest method and how can you actually install google play store directly on your windows 11 without having to install third-party apps or emulators.

So far this is the easiest method that I’ve actually tried myself hence let’s now go to our desktop so that I can show you how can we actually install google play store or android apps directly on your windows 11.

Step-by-step guide: Let’s install google play store on Windows 11

Windows Toolbox

First, let’s now go ahead and open up our web browser go ahead and proceed to this link and you’ll be shown with the github page of the powershell windows toolbox.

This is an open source application that we are going to be using to be able to install the google play store easily on your windows 11.

What you will have to do is to just simply go ahead and scroll down to the middle part of the page until you see this command under the “How to Use” section.

Next, go ahead and go to the start menu and look for powershell right click the windows powershell and make sure to run it as administrator.

Hit the yes button if you are prompted with the uac and once the powershell is loaded up, go ahead and paste the link that we’ve just copied a while ago and hit the enter button on your keyboard.

Then you will now be shown with this particular window right here:

What we’re interested in is to go first on the back up and restore and click on the create restore point we are going to create first a system restore point so that we can go back or undo all the changes that we’ve made in case something goes wrong during the process of installation.

Once the restore point has been created, it will take you back to the windows toolbox app you simply go ahead and look for the install google play store for windows 11 button.

You’ll be shown with this window right here if you’re shown with this prompt right here wherein the pc will automatically restart after enabling the windows subsystem for android just simply type in yes in the command line.

After a successful restart on your computer or your laptop, we can now go ahead and go back to our web browser and then go to the previous link that we’ve opened a while ago which is the github page for the powershell windows toolbox project.

We will have to reopen the windows toolbox by copying and pasting the command from the github page once again.

Once the windows toolbox is opened we’re going to scroll down on the bottom once again and click on the install google play store for windows 11.

It will ask us a different prompt this time around which is to download new version of windows subsystem for android with google play store service compatibility all we have to do is just enter p on our keyboard to proceed with this process go ahead and copy the link as shown on the screen and download the compressed file.

Once downloaded, you will be able to see the windows subsystem for android update 7z file which is compress zip file so we’re just going to right click on this one and click on the copy as path.

Next, go ahead and paste the path of the file on this command line right here once you’ve pasted the path for the windows subsystem for android 7 7z compressed file all you have to do is just hit the enter button on your keyboard all you have to do again is to just wait for this process to complete

Once it is done you will be shown with all of this apps right here such as this windows subsystem for android app that shows you a progress that it is currently starting up that particular app.

All we have to do is go to this optional diagnostic prompt that we might be shown just simply click on the continue button and we are just going to wait until this process is complete and it should automatically turn on the developer options and you will be shown with a notification indicating that the google play protect is currently turned on.

Hence, the google play store is now currently installed on our windows 11.

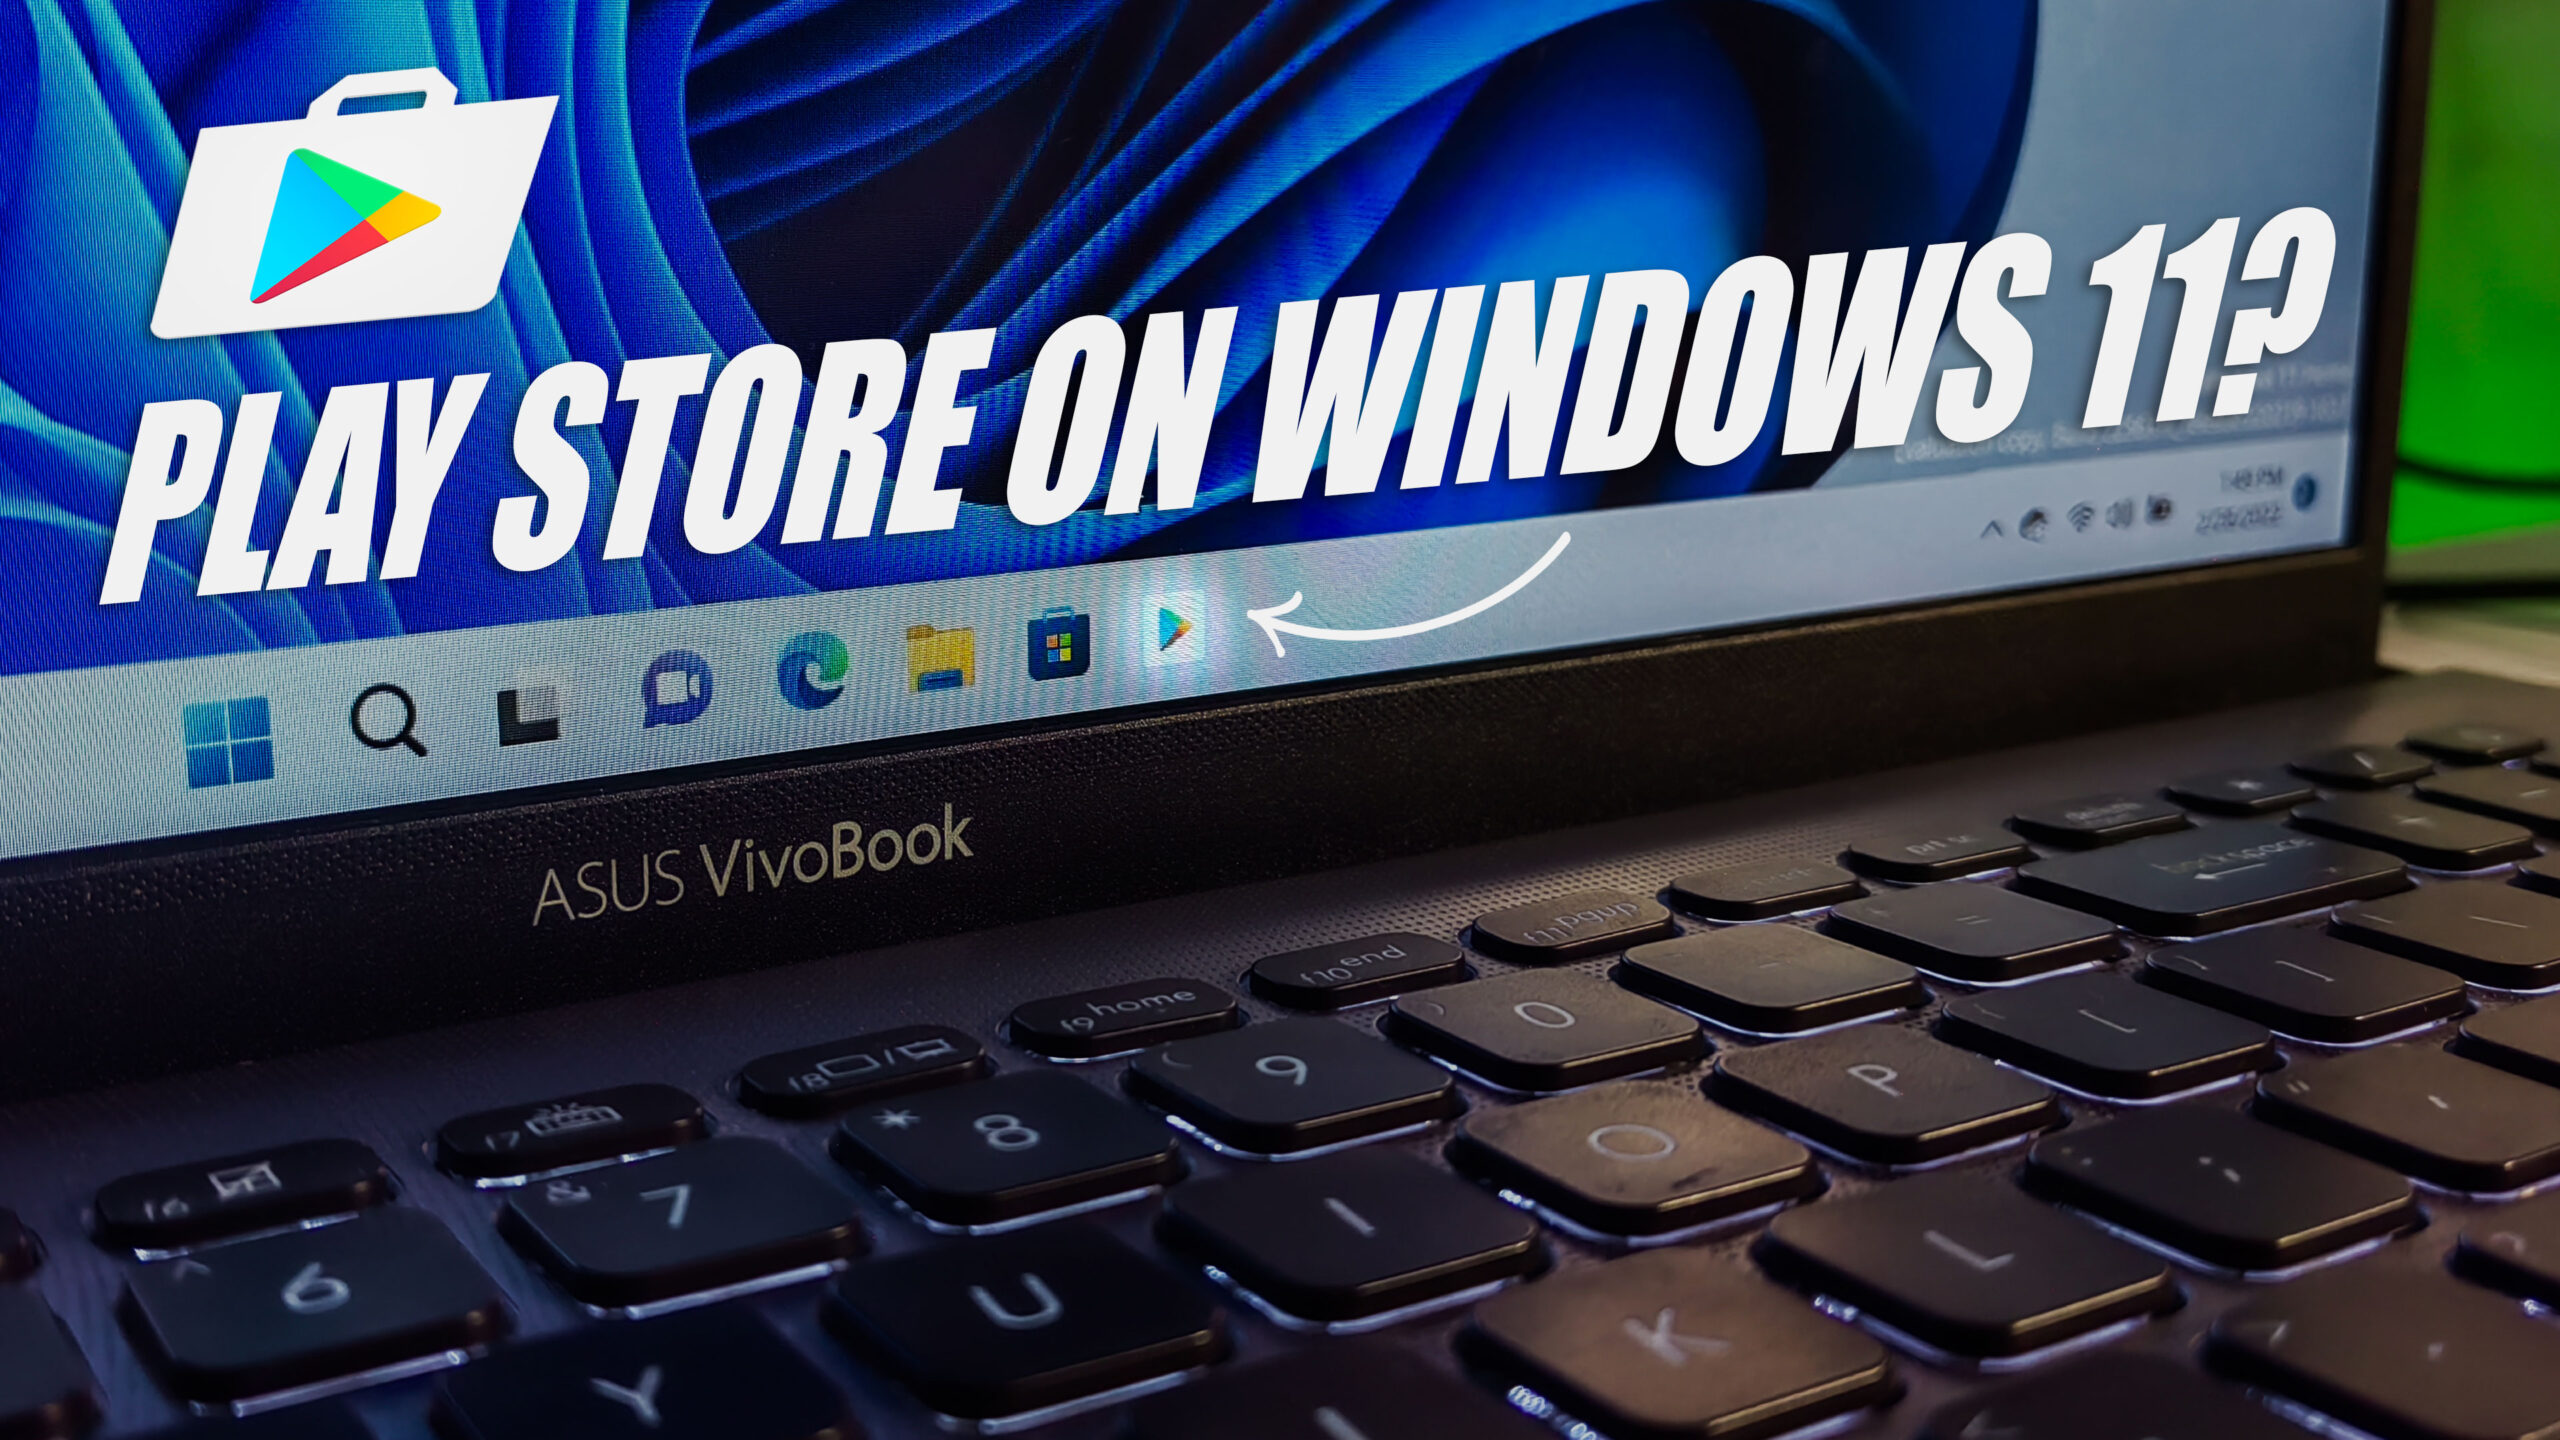
To open up the google play store simply go to the search button on your task bar and then search “play store” and you’ll be able to see the google play store app installed directly on your windows 11.

All you have to do is just right click on the app and click on the pin to start or pin the taskbar for easier access.

Did everything went well while following this guide? If yes, then you’ve successfully installed Google Playstore directly on your Windows 11.

Having a hard time to follow through the instructions? Here’s a video guide for you!

Video Tutorial (Run android apps on Windows 11, no emulators!)


Windows 10 Update Service is missing solution | 2020

In this tutorial, I’ll be showing you how to fix the Windows 10 Update Service is missing issue on Windows Updates.

This issue prevents windows update to check and install security and feature updates on your computer due to some corrupted registry keys and values and may also be due to disabled essential windows update services.

Video Tutorial

Download WUAUServFix10 Registry


Fix Windows 10/8/7 Slow Right-Click or Right-Click takes forever to load (2020)

Tired of endlessly waiting for your right click to load? Here comes the savior!

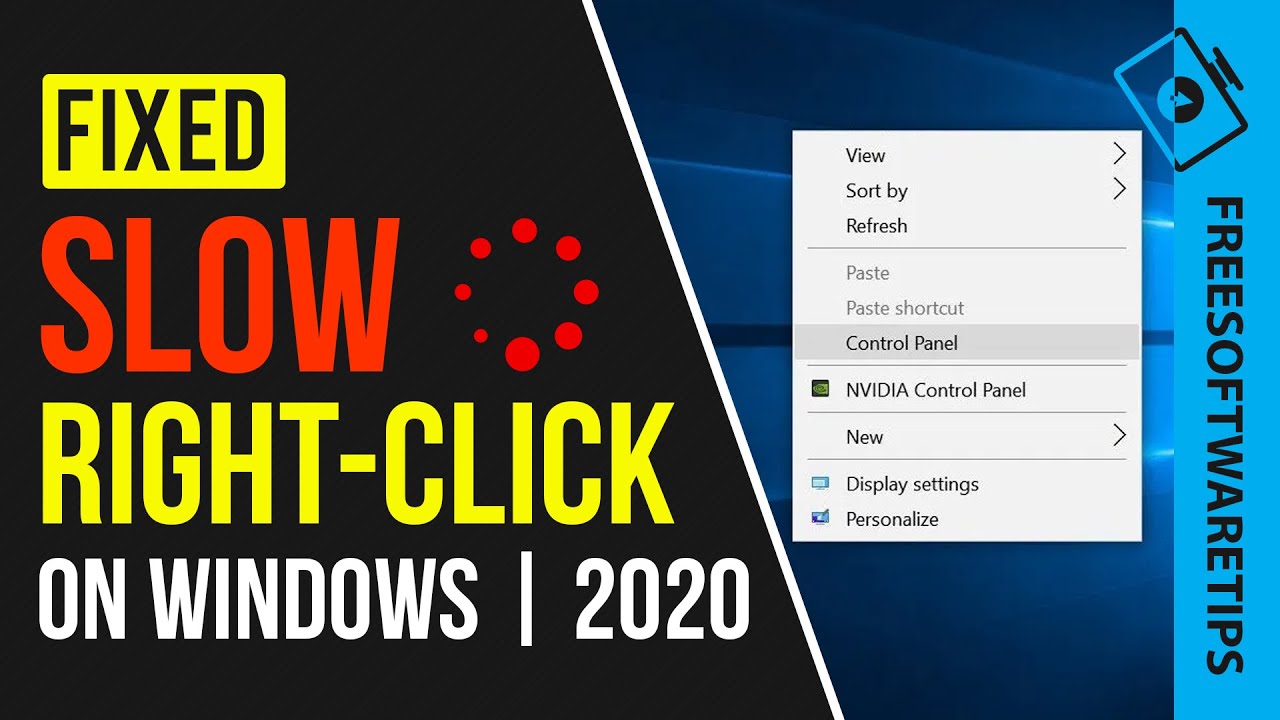
Windows Slow Right Click Problem

Windows Right-Click tend to slow down when the shell context menu on windows gets bombarded with apps.

In order to remove the context menu items or entries on Windows 10, 8, or 7 you can open up a registry editor and delete their respective entries manually.

The downside of doing these manually is that when you delete accidentally a folder or a registry entry there’s no going back or it is very difficult to undo those actions.

However I will be showing you a better method by using a simple app called “ShellExView” to do that process much easier and much faster.

Follow along on the video tutorial below or the step-by-step guide to fix your Windows right click menu in no time!

Video Tutorial

Download ShellExView

Fix Slow Right-click on Windows (Steps)

  1. Download the appropriate version of ShellExView posted above (32 bit or 64 bit).
  2. Next, Extract ShellExView on any folder or location. Eg. Desktop
  3. Open up shexview application upon extraction.
  4. Go to options > check the option “Hide all Microsoft Extensions”.
  5. Select all extensions (shortcut Ctrl + A) then disable them by clicking on the red button on the top left of the application.
  6. Go to options > Restart Windows Explorer.
  7. Hit the yes button and check if the problem is now fixed!


Windows 10 BSOD: IRQL NOT LESS OR EQUAL NDIS.sys Fix

Learn how you can fix IRQL NOT LESS OR EQUAL NDIS.sys Blue Screen (BSOD) error on Windows 10 with 5 different tested working solutions.

Windows 10 BSOD or Blue Screen of Death can be caused by different issues on the system and so I will be showing you 5 different ways/methods on how you can fix and troubleshoot Windows 10 BSOD error “IRQL_NOT_LESS_OR_EQUAL” error.

The methods are demonstrated using the tutorial video below.

Video Tutorial

Download WhoCrashed

Other Related Articles


Add / Install Microsoft Store on Windows 10 LTSC or LTSB Editions

In this video-article tutorial, I’ll be showing you how you can install or add Microsoft Store on windows 10 LTSC or LTSB Editions.

On a fresh installation of Windows 10 LTSC or LTSB Editions of Windows, Microsoft Store is not made available unlike other Windows 10 editions such as Home and Pro.

Follow along on the video tutorial posted below, and the download the required resources using the download button located below.

Video Tutorial

Step-by-Step Guide

add-install-microsoft-store-on-ltsc-ltsb-1
  • Extract the archive, then open up the folder until you see the Add-Store.cmd
add-install-microsoft-store-on-ltsc-ltsb-2
  • Open up start menu, look for developer settings.
add-install-microsoft-store-on-ltsc-ltsb-3
  • Choose the “Developer mode” under the “Use developer features”. Hit the yes button once prompt shows up.
add-install-microsoft-store-on-ltsc-ltsb-4
  • Go back to the extracted archive / folder. Right click the add-store.cmd and run it as administrator.
  • Wait for it to finish automatically installing Microsoft Store on your LTSC/LTSB system.

Related Articles:


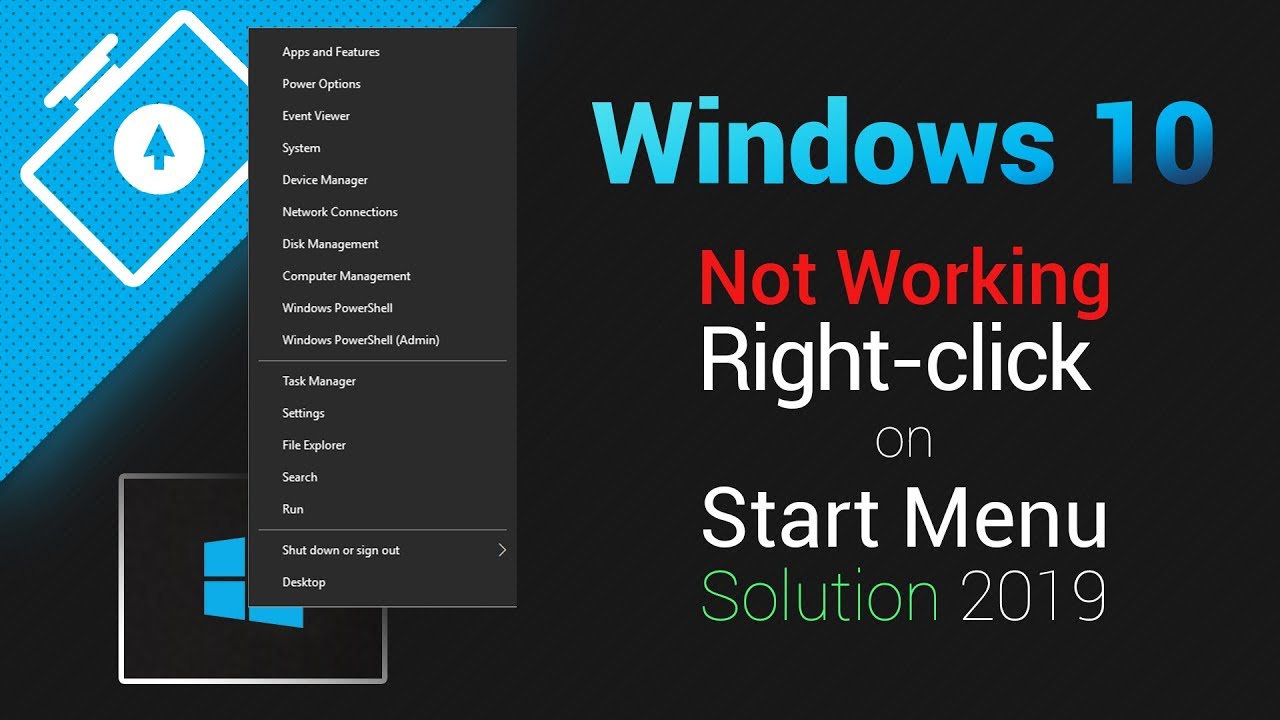
Right click not working on Windows 10 start button / start menu

In this video-article, I’ll be showing you the step-by-step guide to fix right click functionality not working on Windows 10 start button / start menu.

Video Tutorial

Download WinX Files

Step-by-Step Guide

  1. Open up a file explorer and type on the address bar %appdata%.
  2. Click the back icon or go one directory backwards that will take you outside the appdata roaming folder.
  3. Open up “local” folder then look for Microsoft folder.
  4. Scroll down until you see the “Windows” folder and open it up.
  5. Download WinX files by clicking on the download button above.
  6. Extract WinX files / folder to corresponding WinX folder placed under the opened Windows folder.
  7. Replace all files (Group 1, Group2, Group 3) to fix any corrupted shortcut files and configurations.
  8. Open up task manager, then restart Windows Explorer or simply restart your computer.


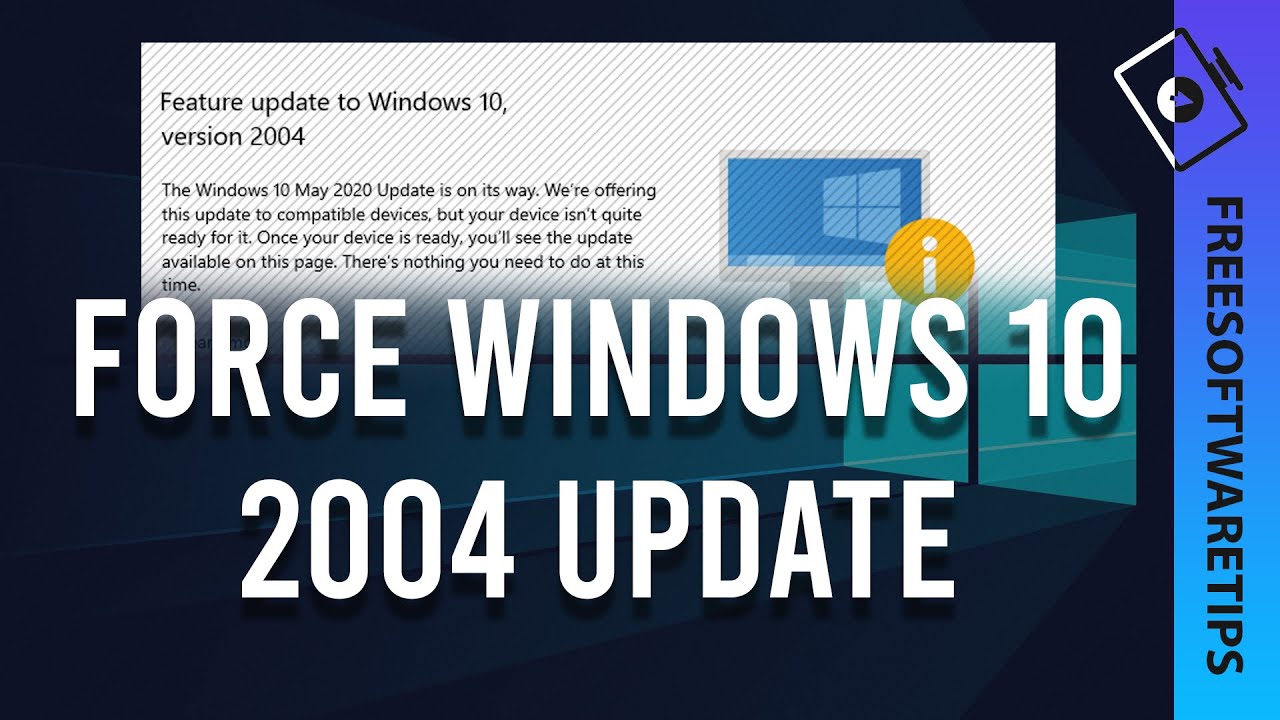
How to Properly Force Windows 10 v2004 2020 Update

Windows 10 has been blocking updates on many devices such as laptops, tablets, even desktop computers due to known bugs and issues with the latest v2004 Update.

However, PC enthusiasts and professionals who know that their systems are not affected by these particular issues and/or just wanted to try the latest Windows 10 2004 Update, in this article-video tutorial I’ll be teaching you a very simple method to properly force install Windows 10 2004 Update.

Video Tutorial

Step-by-Step Guide

  1. Open up Windows Security, Navigate to Device Security > Core Isolation > Memory Integrity. Set the Memory Integrity option to OFF.
  2. Go here and download Microsoft Update Assistant Tool to update from Windows 10 version 1903 or 1909. NOTE: Windows 10 must be at least 1903 or 1909 for the tool to be able to detect and upgrade to 2004 version.
  3. Download and open up the tool and proceed with the installation. (It will check system hardware requirements, etc) then proceed with the download and installation.
  4. Restart your computer once done and proceed with update installations.
  5. Viola! You have Windows 10 2004 update installed on your machine properly!

Download Resource

Other Windows Tutorials


How to reset DLL file association on Windows 10 (2020)

Sometimes file common file associations tend to get broken on Windows and one of which is the .dll files. It is not easy to undo such file associations as of the moment and so I’ll be demonstrating how you can fix the issue.

How to fix this issue?

  1. Download the registry fix file: reset_dll_association.zip.
  2. Extract the registry fix file on a folder.
  3. Right click the registry key and click on Merge.
  4. Open up task manager by going to start menu > search for Task manager > right click and run as administrator.
  5. Locate Windows Explorer, click on restart.

Video Tutorial

Required files:


Can’t Type Anything in Windows 10 Search Bar Solution

Today, we’ll fix the windows 10 search bar. I have compiled and collected almost all possible solutions to the problem wherein you are unable to type anything in Windows 10 Search Bar so watch the video and find the solution which works best for you!

I have made a step-by-step guide and compilation of the possible solutions to Windows 10 Search Bar where you can’t type anything or use the search function itself on Windows 10.

The command/s used in the video can be copied below.

Video Tutorial

How to fix windows search bar?

First solution that we can try is to reinstall the necessary app packages for the windows search component installed on Windows.

Commands :

Code # 1:

  • Open a PowerShell and make sure to run it as Administrator then enter sequentially the codes.
PowerShell -ExecutionPolicy Unrestricted
Get-AppXPackage -AllUsers |Where-Object {$_.InstallLocation -like "*SystemApps*"} | Foreach {Add-AppxPackage -DisableDevelopmentMode -Register "$($_.InstallLocation)\AppXManifest.xml"}

If the code above didn’t work, try entering another code below.

Code # 2:

  • Open a PowerShell and make sure to run it as Administrator then enter sequentially the codes.
$manifest = (Get-AppxPackage Microsoft.WindowsStore).InstallLocation + '\AppxManifest.xml' ; Add-AppxPackage -DisableDevelopmentMode -Register $manifest

Others Possible Fixes / Solutions:

Restart Cortana / Search service using task manager.

Open up a Task manager, right click on your task bar, click on Task Manager.


Look for the process “Cortana” or “Search” under the Process tab names.

(Tip: Hit keys on your keyboard “c’ or “s” to find processes that start with these letters.)

Click the end task button.

Restart Windows Search Service using services.msc

Go to your start menu, search for services.msc, right click on it and run as administrator.

Look for “Windows Search” service and click on the restart service.

Then, right click the service and click properties. Make sure to set the start up type to “Automatic”. Then hit the apply and ok buttons.

Let me know which solution worked for you!